


Home › Forums › H&F Forum › Hunting › Eastern US › Antler reproduction
This topic contains 0 replies, has 1 voice, and was last updated by outdoorguru 3 months, 1 week ago.
Viewing 1 post (of 1 total)
-
AuthorPosts
-
October 8, 2014 at 8:01 pm #7059
The Process of Antler Reproductions
Step 1 – Applying the first coat of RubberAfter a release agent is applied to the antlers for the rubber to remove easily, a think first layer of rubber is applied to all surfaces of the antler. This layer preserves the finest details of rack such as the ridges, beading and vein channels that give the antlers their character. 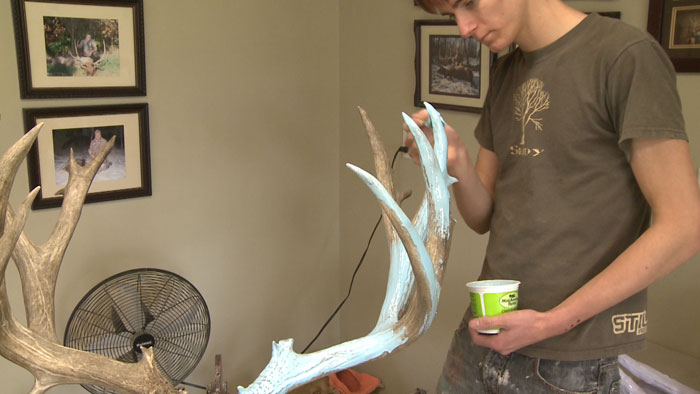
Step 2 – Applying additional layers of rubberAfter the blue, first coat is applied and hardened, subsequent layers of thicker rubber are applied. It is the rubber that creates the mould that will be used later for pouring. 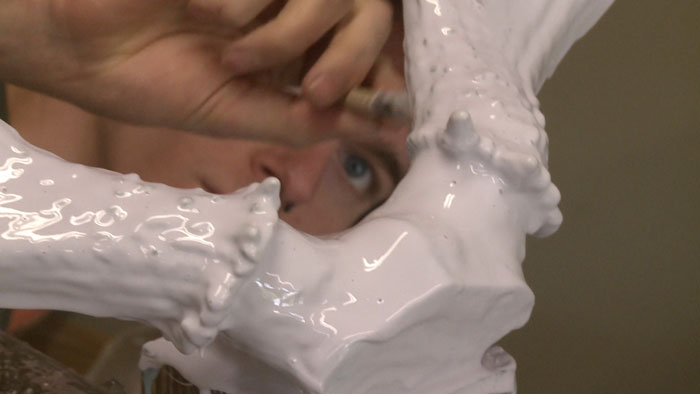
Step 3 – Creating the Fiberglass JacketThe rubber itself can not be poured, the mould requires a hardened jacket to maintain the exact shape of the antlers. This is done by applying fiberglass over the rubber mould to maintain the shape and provide rigidity to the form. 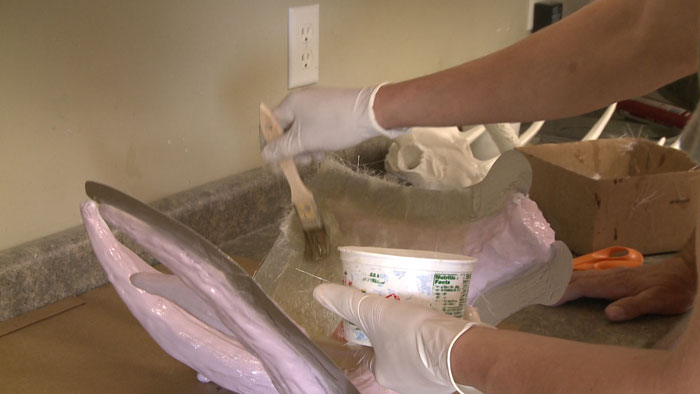
Step 4 – Trimming the JacketAfter the entire mould including the fiberglass is hardened, the rough fiberglass jacket is trimmed, drilled and cleaned. Obviously, great care must be taken to ensure the original rack inside the jacket is not harmed in any way. 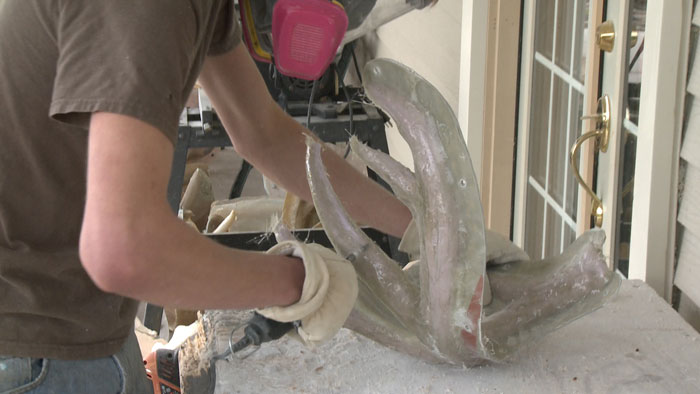
Step 5 – Removing the JacketAfter the jacket is trimmed it is carefully separated into a top and bottom half. 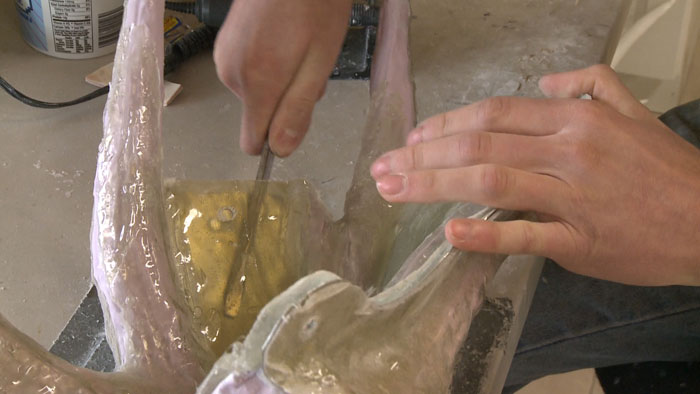
Step 6 – Cutting the rubber mouldThe rubber mould is now carefully removed from the original antler. This step requires precise and delicate cutting so the original antler is not scratched by the cutting blade. 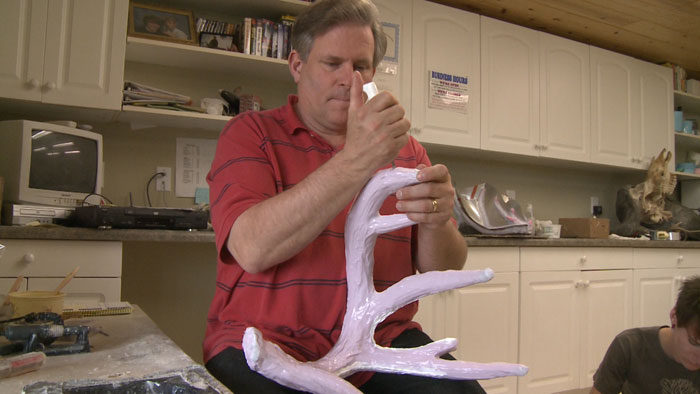
Step 7 – Removing the rubber mouldOnce the rubber mould is cut, it is carefully removed from the antler. Once this is complete, there is no longer any need to work with the original. 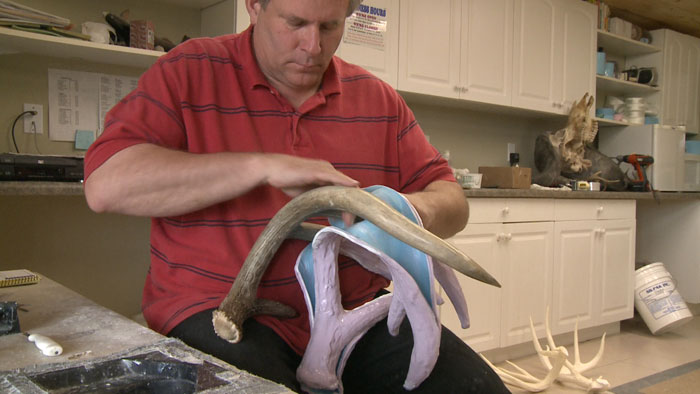
Step 8 – Assembling and pouring the mouldThe empty rubber mould is carefully placed back in it’s fiberglass jacket and bolted together to maintain the proper shape. The mould is hung upside down by the pedicle and a plastic resin is poured into the mould. 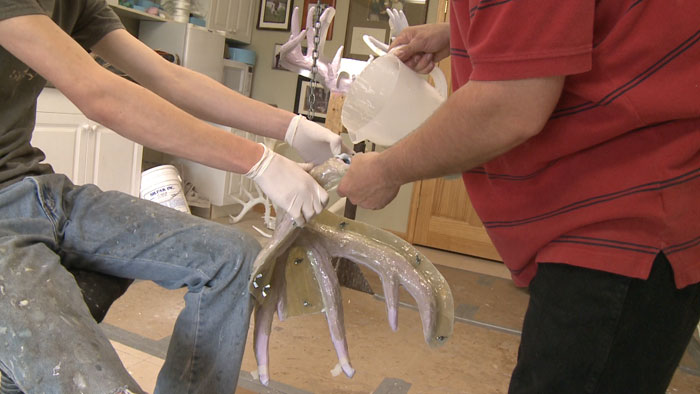
Step 9 – Removing the reproductionOnce the resin has sufficiently hardened, the fiberglass jacket is carefully unbolted and the rubber is removed from the antler. The jacket and mould may be used again to create additional copies of this antler. 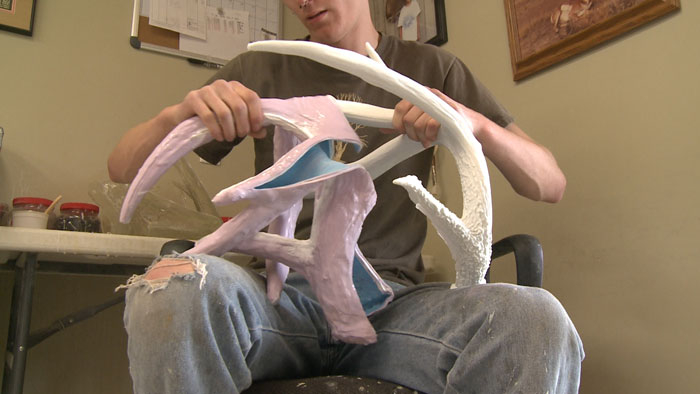
Step 10 – Inspection and clean upThe pouring process creates some small plastic ridges which are cleaned up easily. The reproduction is now ready for the coloring process. 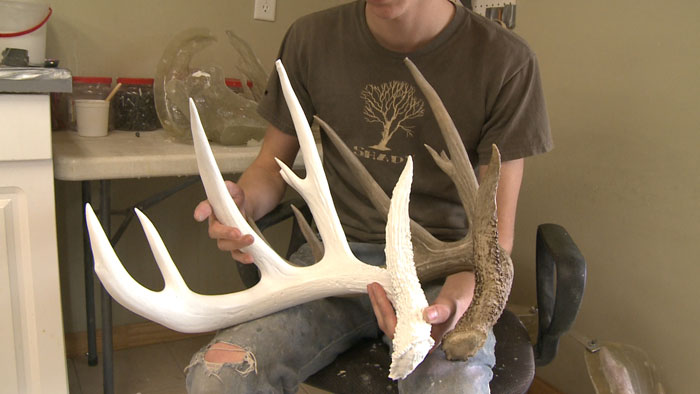
Final Step – ColoringUsing the original antler as a guide, Klaus mixes the colors which will reproduce this antler. 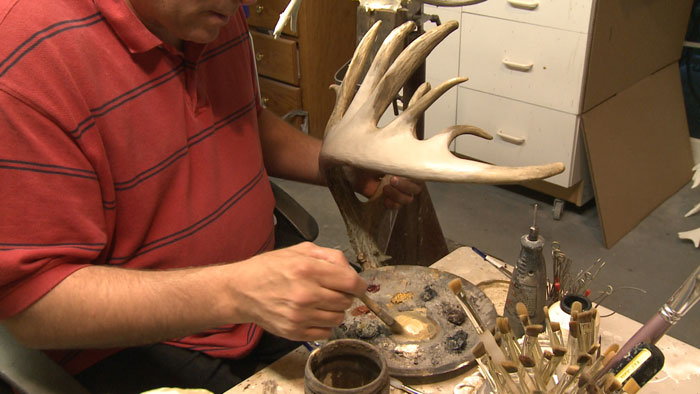
Final Step – Coloring ContinuedLike watching Picaso create a masterpiece, the painting process is nothing short of pure artistry. Here Klaus dabs his brush with a mixture of colors from his palette. 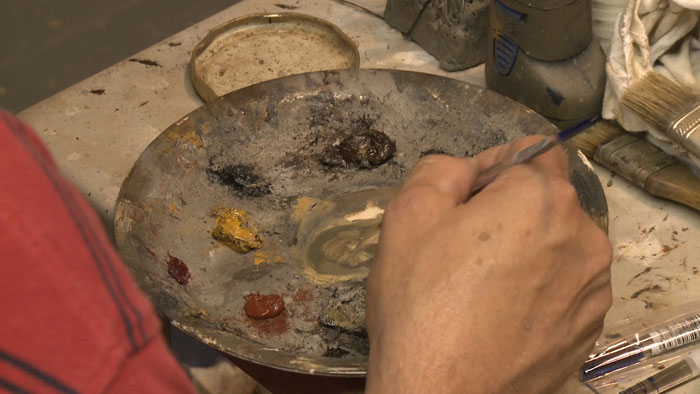
Final Step – Coloring ContinuedEvery line and character is painstakingly reproduced to bring out the character of every antler. Obviously, no two are every alike. 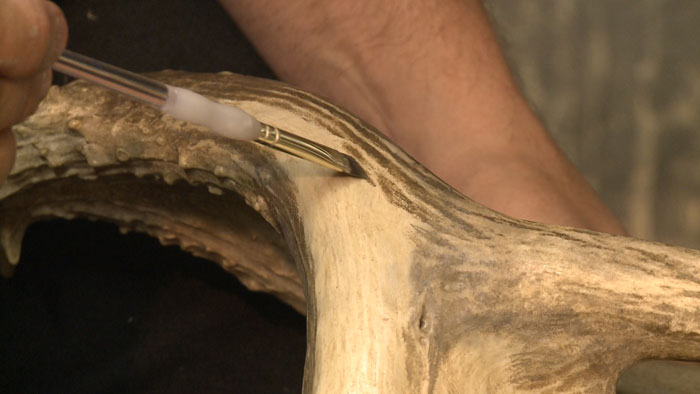
Process CompleteThe finished antler represents more a work of art. Not only down to it’s color, but also weight and density as well. 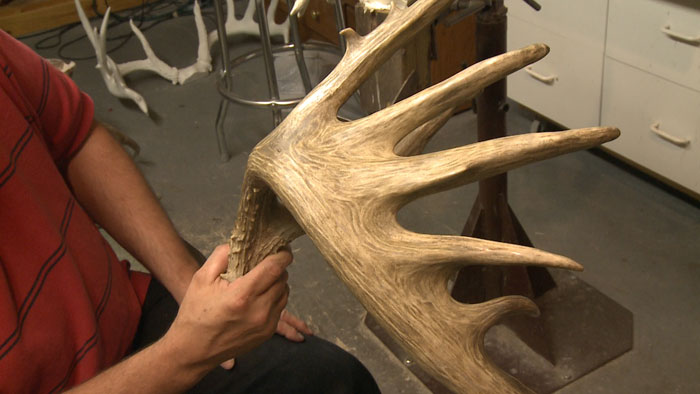
Video of the Process
-
This topic was modified 3 months, 1 week ago by
outdoorguru.
-
This topic was modified 3 months, 1 week ago by
-
This topic was modified 3 months, 1 week ago by
-
AuthorPosts
Viewing 1 post (of 1 total)
You must be logged in to reply to this topic.